ESPHome desk control board
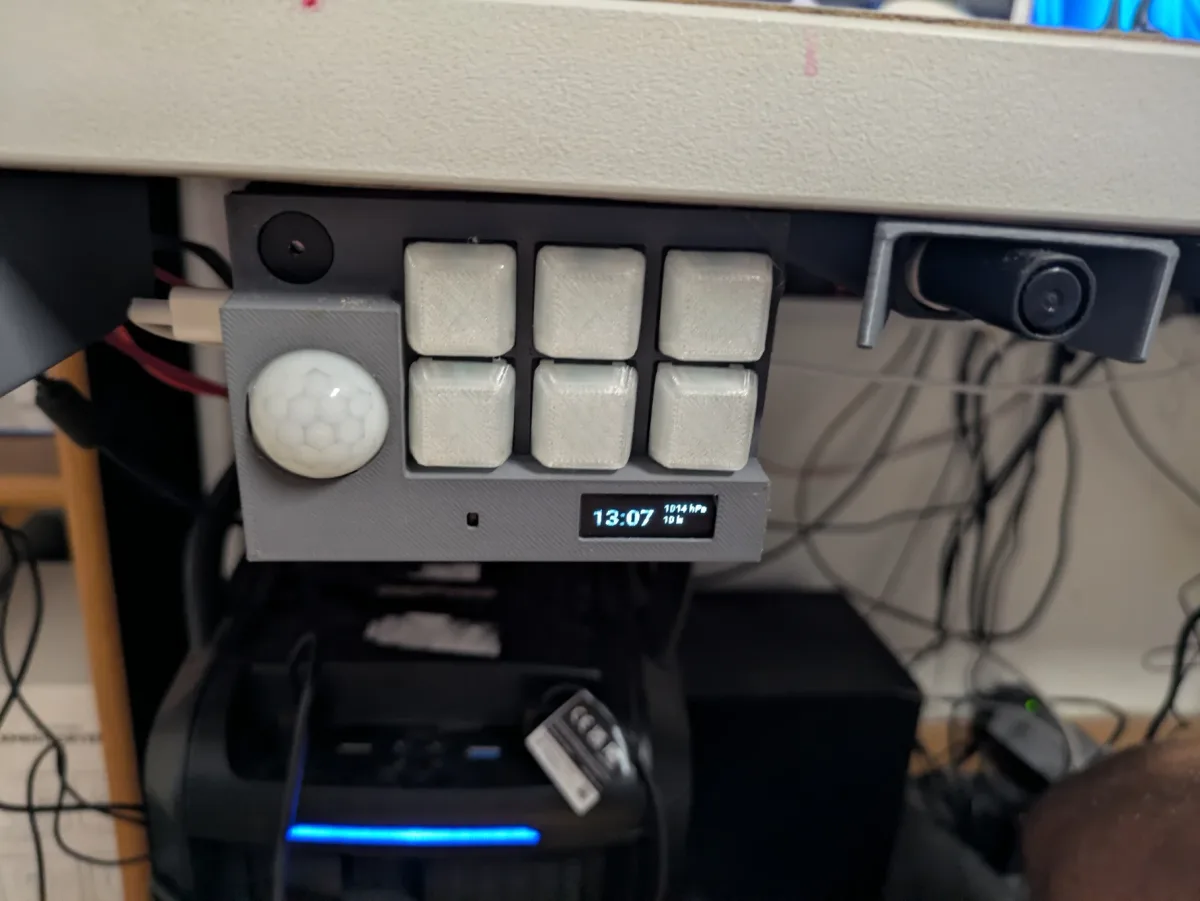
A six-key panel with a PIR sensor, buzzer and OLED, mounted under the desk. Custom PCB, printed keycaps, wired into Home Assistant.
- Keys
- 6, each with an RGB LED
- Sensing
- PIR presence
- Output
- OLED · buzzer
- Board
- Custom PCB
Home Assistant is excellent until the moment you want to do one specific thing and have to find a phone, unlock it, open an app and locate a toggle. Physical buttons don’t have that problem. This one lives under the edge of the desk, where a hand can reach it without looking.
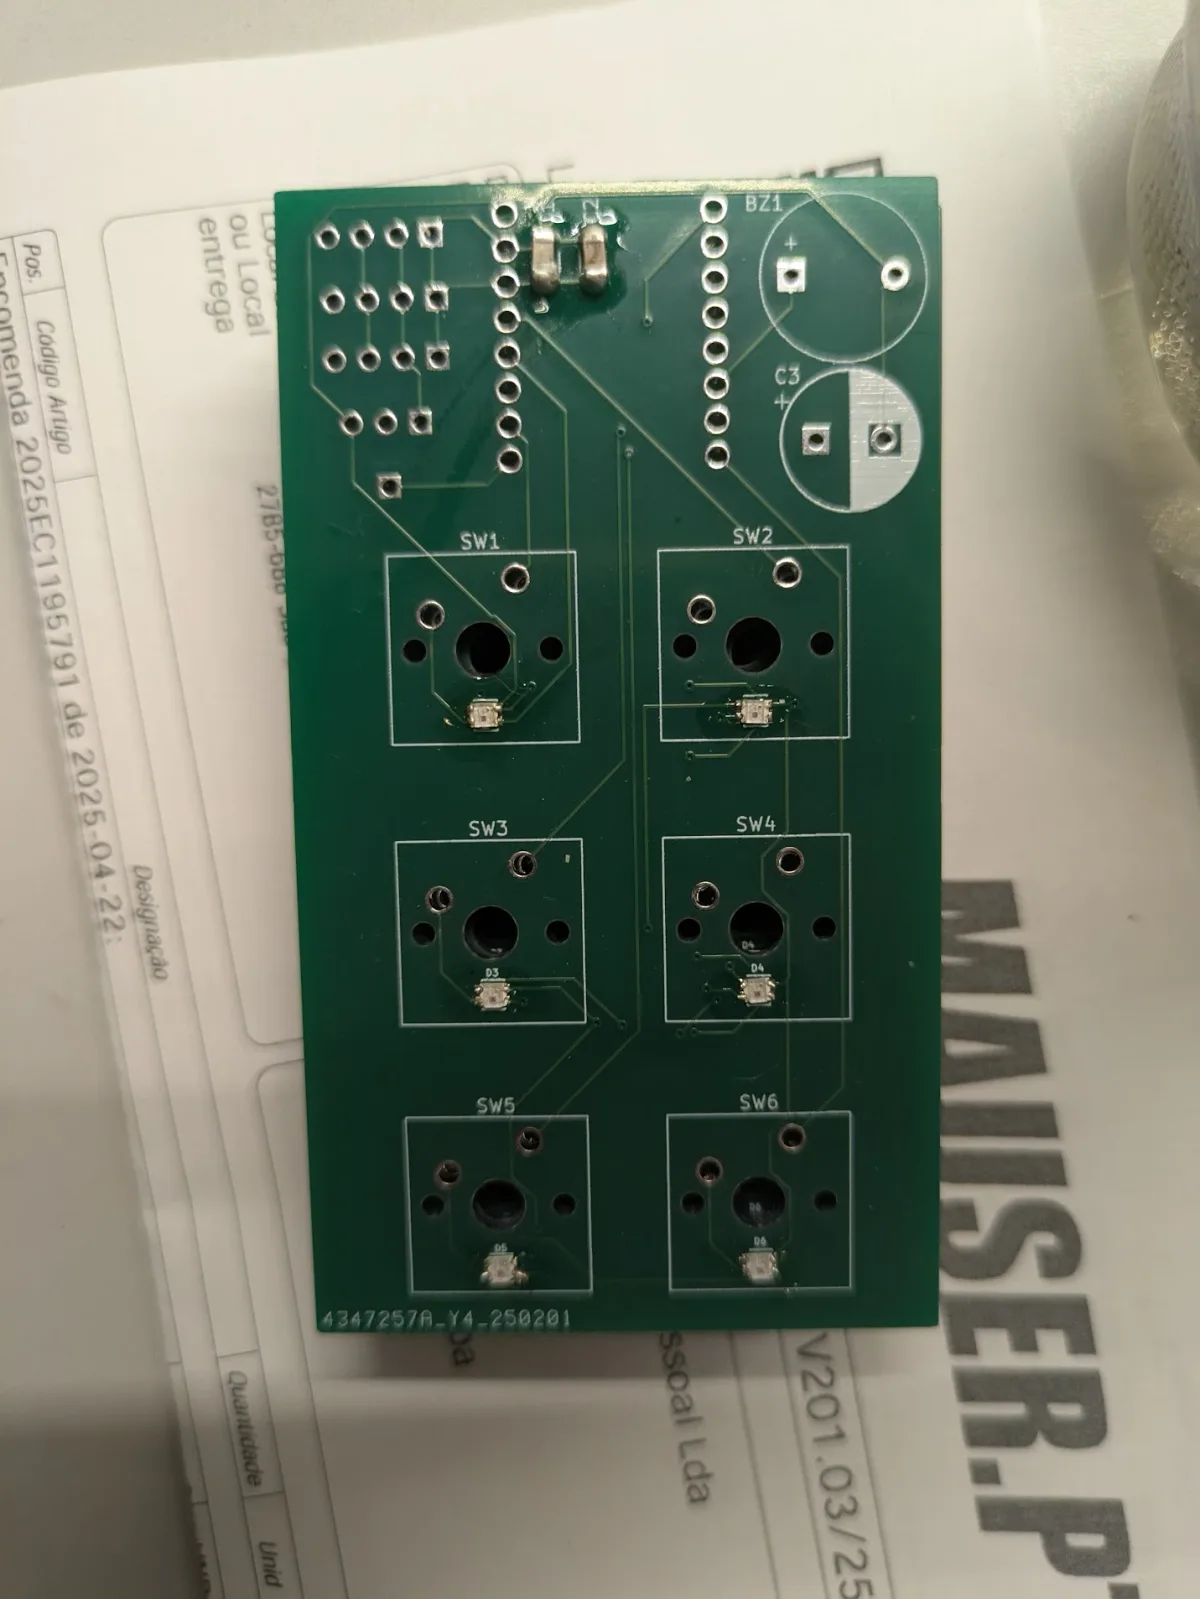
Rather than wire tactile switches to a dev board, it’s a custom PCB: six switch positions each with an RGB LED behind it, a buzzer, and a header for the display.
The keycaps are printed in translucent filament so the per-key LED shows through — the button can report state rather than just accept input.
A second one, with a bigger button
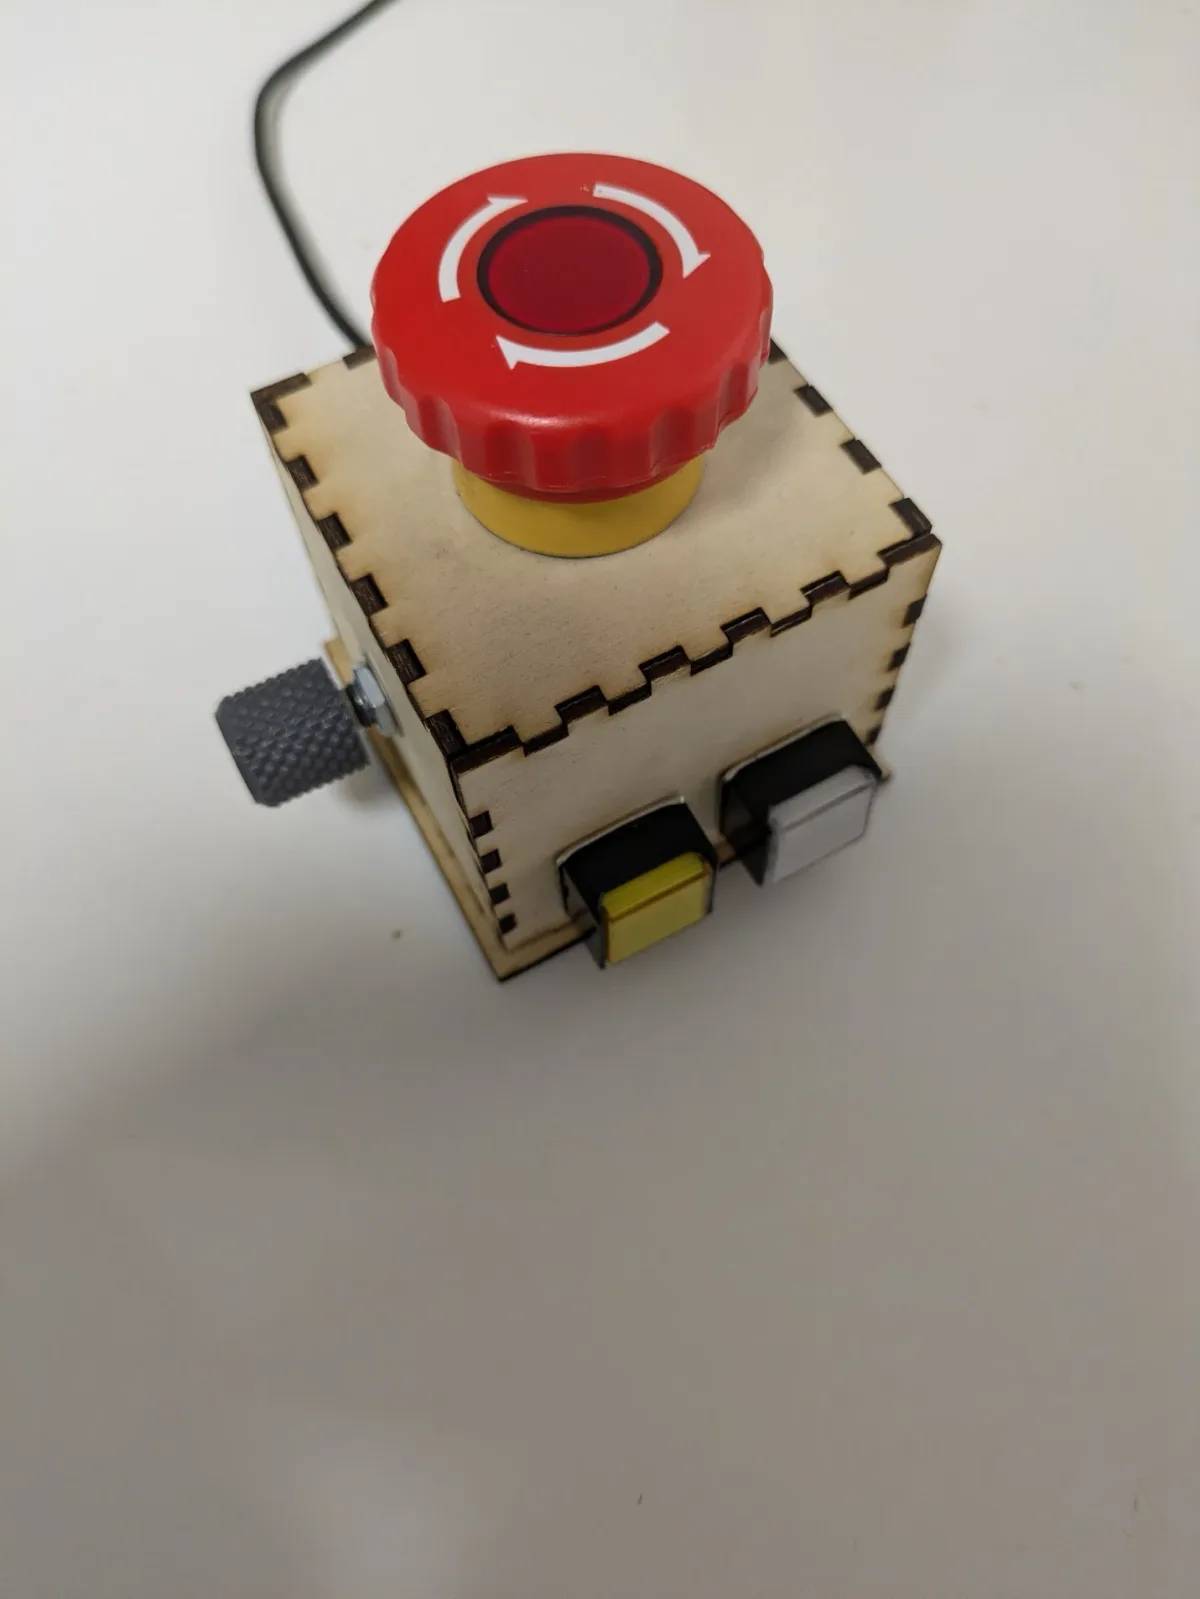
Same principle, different vocabulary. A latching mushroom button says something a keycap can’t: this is deliberate, and it stays where you put it.